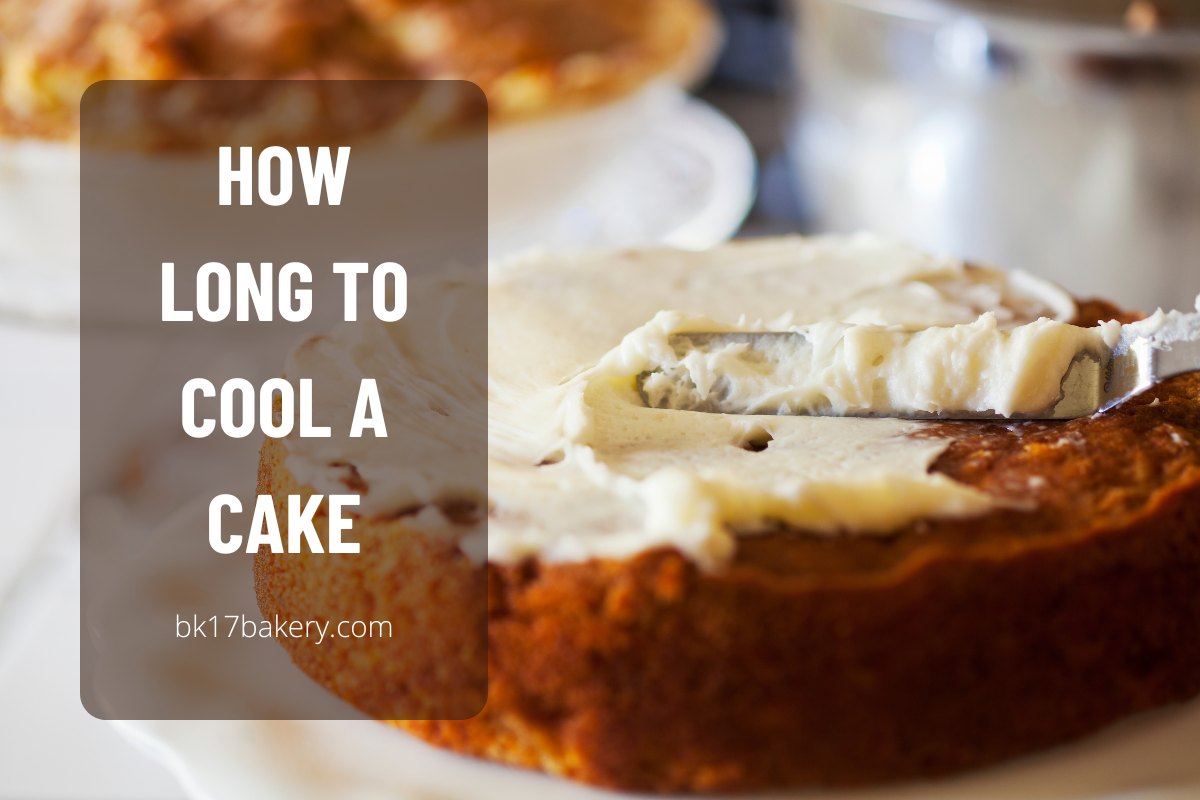

Baking a beautiful cake from scratch is awesome in itself. But you know what else adds the cherry on top? The frosting and decorations, of course. It’s the final touch that takes your cake from great to extraordinary!
I totally get the temptation to decorate right away after all that hard work, but hold your horses for a second. Trust me, allowing the cake to cool down properly before your artistic flairs begin can make a huge difference here!
So, how long does it take for a cake to cool, exactly? No worries, I’ve got your back on this one. Let’s get into it right now!
In This Article
How Long Does A Cake Take To Cool?
When your cake is piping hot fresh out of the oven, it needs about 2 hours sitting on the counter to cool down completely. And if you split the cooling time between the fridge and the kitchen counter, you can slash the total time to just 1 hour!

But here’s a heads-up: don’t rush to yank your hot cake out of its pan right after baking. At that point, it’s still all soft and delicate inside, so I often give it 10 to 20 minutes to cool down in the pan before release. Do not let the cake chill there too long, though, or it might decide to stick around in the pan longer than you’d like!
Speaking of tricks, ever heard of springform pans? Unlike regular pans, these babies have a handy clasp that lets you remove their sides smoothly; there’s no need to worry about your cakes falling apart when you transfer them onto a plate or serving platter. The bottom stays put, and you can effortlessly slide it off. Easy peasy!
How to Quickly Cool A Cake? My Step-by-Step Instructions
Method 1. Using The Fridge Method
Step 1. Get It Out and Settle In

Grab a pair of oven mitts and take your unfrosted cake off the oven. It needs a little breather, so let it chill on the counter for about 15-20 minutes.
- For creamy cakes like cheesecake, turn the heat off and let it cool in your oven for an hour before shifting it to the fridge. If time’s not on your side, straight to the fridge it goes, but be prepared for possible slight cracking.
- Run your butter knife across the edges while the cake’s still warm to prevent sticking later.
- To protect my counter, I often settle my cake pan on a wood surface (e.g., a cutting board).
Step 2. Into The Fridge, We Go
After its short stint on the counter, move the cake pan into your fridge for another 5 to 10 minutes. This strategy will keep the cake pieces cool without drying them out!
- Are you working on an angel food cake or a sponge cake? Cool them upside down to avoid collapsing. While at it, I often balance the pan upside down over a stable bottleneck.
- How about a pound cake? Take it off your pan, then cool it on a wire rack to sidestep excess dampness or stickiness.
Step 3. Wrap It Up (or Not)
Get your cake pan off the refrigerator and seal it with plastic wrap. (Sometimes, I wrap my cake at least twice to keep the moisture locked in!) But hey, if you’ve already removed the entire cake from the pan or it’s upside down, feel free to skip this wrapping step.
Step 4. Chill Time
Put your fluffy cake into the refrigerator for another 1 to 2 hours, depending on the type. For instance, my cheesecake needs the full 2 hours, but lighter cakes just need 1 hour extra.
Step 5. The Great Escape
Now, loosen things up! Take a sharp butter or serrated knife and gently run it across the pan edges to free your delicious cake. Keep the knife vertical to avoid accidental cake trimming.
Step 6. Freedom!
Place a big plate over the cake pan and firmly flip it all upside down, then give the pan a little shake to transfer the cold cake onto the platter. A few gentle taps on the pan bottom can also do the trick if it’s a delicate cake.
And voila! Now that the cake’s chilled out, it’s time to get creative with the layer of cake frostings and decorations. Enjoy!

Method 2. Using Your Cooling Rack
Step 1. Oven to Rack
Your cake’s out of the oven – nice work! Time to show it some cooling love. Put on your oven mitts and carefully place your pan on the cooling rack directly.
Still, you can keep your treat in the turned-off oven for an hour if it’s a delicate cheesecake; slow cooling helps the cake surfaces stay crack-free!
Step 2. Let It Chill On Your Rack
Take a breather and check your cake recipe for cooling guidelines; they can be a bit all over the place, depending on your type of cake. Generally, I would let my cake sit there for 10 to 15 minutes and ensure the pan is on the rack for proper airflow underneath.

Step 3. Free the Edges
Now it’s time to set your baked cake free!
Grab your sharp knife and gently slide it between the pan’s rim and the edges of the cake. Again, keep the knife standing tall to avoid any accidental cake surgery. A couple of runs with the knife should do the trick to loosen things up.
Step 4. A Little Spray
Before your cake takes its final resting place on the cooling rack, give the rack a light treatment with some cooking spray. This way, the slightly warm cake won’t stick to your wire rack during the transfer.
Step 5. Transfer Your Cake with Care
Let your cooling rack hover atop the pan, then slowly flip your pan over upside down. Tap the pan’s bottom gently until your cake happily slides out. Lift your pan away, and there you have it – cake on the rack!
Step 6. Let It Cool and Decorate
Let your cake cool completely on the rack for 1 to 2 hours. Once it’s chilled out, it’s your time to shine! Place it on a platter or plate, then unleash your inner artist with all the cake decorations you have in mind.
Extra Tips to Store Your Cake
- Wrap your cake snugly in plastic wrap or pop it in an airtight container. It will chill happily in the refrigerator for about 3 days, staying fresh and ready to enjoy.
- Want your cake to last longer? Freeze it! You can tightly wrap your frosted cakes on a board in a plastic bag. For unfrosted ones, the usual plastic wrap should do.
Your frozen cake should stay good for about 3 months; that’s plenty of time to thaw it out and savor its flavors whenever you want a delicious treat!
Pro tip: when stacking cake layers, I often put a piece of parchment paper between them to keep them from sticking together.
Quick FAQs
How long do you let a cake cool before flipping?
7-10 minutes for large pans and 5 minutes for smaller pans.
What happens if you cool a cake too quickly?
Its edges might dry out if you go overboard, resulting in rough patches or crumbs.
Is it okay to let your cake cool overnight?
Yes, but only when the cake-cooling process takes place in your fridge. Imagine all the possible disasters if you keep the cake at room temperature overnight!
Worst of all, there might be a risk of bacterial growth on the icing, especially for cakes with perishable ingredients like cream cheese or custard.
Should I cover my cake when it’s cooling?
No. The trapped heat under the cover might turn your cake soggy. And you don’t want the cake tops touching the cover, or they might end up peeling away once the cover comes off!
What’s the fastest way to cool a cake?
Your refrigerator or freezer can come to the rescue! But don’t leave your cake in the fridge too long, or the cold temperature there might suck out its moisture.
Conclusion
Most cakes need a little cooldown session before you can get all fancy with the frosting process. Give them a couple of hours to cool off, either on a cooling rack or inside the fridge; both options work like a charm!
Got more cake queries? Just shoot me a message. I’m here to help you anytime.