
Since their debut in 1918, KitchenAid mixers have been a constant delight for home cooks like me due to their powerful rotors and various speed optimizations for a wide range of recipes.
But long-time usage throws you a curveball: the clearance between the beater and the bowl are off
As someone who has had quite an experience with both KitchenAid’s tilt-head and bowl-lift models, I will tell you how to adjust Kitchenaid mixer height with a dime test. Keep scrolling!
In This Article
Why Adjusting KitchenAid Mixer Is Necessary
Constant and regular adjustments are required for two reasons. First, it ensures the mixer’s operation closely aligns with your baking requirements and yields better flavor.
Secondly, without the beater staying too close or too far from the mixer bowl, your KitchenAid model can enjoy a much more extended lifespan than average.

Optimal Mixing Efficiency
When properly set up the bowl-to-beater ratio, your cooking ingredients will be incorporated evenly. No wonder the flavor and texture feel a thousand times more consistent!
Even attempts at extremely difficult recipes (sweet orange rolls, for instance) cannot challenge you. I have had quite a success with orange rolls – despite it being my first try ever – all thanks to the simple adjustments of the beater blades!
Incorrect KitchenAid mixer height adjustment, on the other hand, might pave the way for uneven mixing. Do not be surprised if there are littered pockets of unprocessed ingredients within your batter and cookie dough.
Longer Mixer Lifespan
Of course, adjusting a KitchenAid mixer also keeps excessive tear and wear away from your mixer.
Too-short distances between the beater and the bowl may scrape their sides and cause severe cracks. Too-far gaps, meanwhile, hold the beater from reaching all ingredients effectively; potential motor strain and incomplete heavy mixing are only to be expected.
How to Perform A KitchenAid Mixer Dime Test?
Put a dime into your KitchenAid bowl, adjust the mixer head, and observe how the dime moves. No movement means “too high,” and excessively fast movements indicate “too low.” Only consistent dime travel of about ½ inch per beater pass signals good news.
The full guides are as below:
Step 1. Gather the required tools
Ensure you have the following prepared:
- A dime
- A flat-head screwdriver (for adjustment screws)
- A mixer fitted onto the paddle and bowl attachment
Step 2. Put the dime inside the bowl.
Place your dime with proper care into the mixer bowl.
- For tilt-head models: Lower their head
- For bowl-lift mixers: Raise their bowls
Step 3. Observe
Now switch your mixer mode to “Stir” and watch how the dime travels around the bowl.
- The dime doesn’t move at all: Your beaters are too high
- The dime moves continuously: Your beaters are too low
- The dime travels slowly at 0.5 inches per beater pass: Your beaters are at the correct height.
Step 4. Adjust your mixers
Of course, you do not need to resort to Step 4 if your beaters are already at perfect settings. But for those with too-high or too-low beater height, this step is critical!
I used to apply the same adjustment steps for both tilt-head and bowl-lift models before realizing how significantly different they were. (Thankfully, the damage did not cost me a fortune to repair).
So ask yourself which type of mixer yours is and choose one of the two guides below.

4a. KitchenAid Tilthead Mixer
- First, unplug the mixer and pull out all of its attachments.
- Tilt its head back. Locate the hinge screw (where the mixer’s body and top should meet).
- Use a flathead screwdriver to turn the screw clockwise (for too-high beater) and counterclockwise (for too-low beater).
- Only give the screw 1/4-turn each time, and use the same dime test to check its new height after every adjustment. Keep readjusting the bowl clearance until satisfied.
4b. Kitchen Aid Bowl Lift Mixer
- Like with tilt-head versions, unplug the mixer and pull out all attachments.
- Spread a cloth out on the counter, then lay your mixer on the back as gently as you can. Once done, locate the screw that connects the mixer’s body and top.
- Turn the screwdriver 1/4-turn clockwise each time (for too-high beater) and 1/4-turn counterclockwise (for too-low beater)
- Perform your dime test KitchenAid after each adjustment. Keep turning (or undoing the turning) until their heights feel right.
Extra Tips
- The dime tests only work with steel bowl versions; do not apply them to ceramic or glass models.
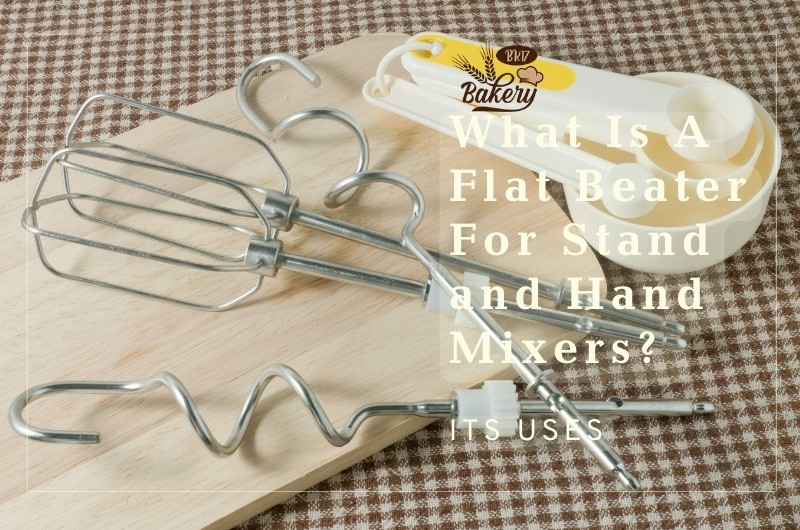
- Only use paddle attachments to ensure the best result; leave the hook and whisk out of the way.
- Only work with the neck screws. Do not touch any other screw on the mixer.
- What if your mixer height is correct, but unmixed ingredients are still stuck on the bowl sides? In that case, consider investing in flex edge beaters; their silicon scrapers will help scratch the bowl down for you.
Some Mixer Hacks to Use KitchenAid Stand Mixer For Different Recipes
Shredding Chicken and Meats
Do you really believe that the KitchenAid model of mixer is only for baking? That could not stray further from the truth!
The medium-height beater blades turn out to be a wonderful assistant for chicken shredding, providing enough texture consistency to satisfy any picky eater.
Cream Sugar and Butter
The best way to cream your sugar and butter is to use the low-height beater blade (no, not the wiring whips) or, even better, the Flex Edge beaters. Even with the butter not completely softened, these blades will get the job done for you in a blink!
Mash Potatoes
Making mashed potatoes to feed a huge group (say, a party) can be very tiring. It’s time to entrust your ingredient-mixing process to a KitchenAid mixer!
Let it take care of the potato mashing while you focus on other tasks.
Mistakes to Avoid While Using KitchenAid Mixers
Some people set the mixer at too high a speed at the beginning steps. I understand how excited you are, but hold on: do you really want to see your butter, milk, and flour flying all over? Backtrack and turn the speed down several levels.
Also, do not forget to chill the bowl – a common beginner mistake for whipped cream. Always toss the mixer bowl into your freezer for 5-7 minutes before getting started; the extra cold can speed up the stiff peaks more than you think!
Conclusion
My guide has detailed tips for using a dime test KitchenAid mixer to adjust the height of the beater.
There is no need to get rushed; abide by every step mentioned to ensure nothing can go wrong with your baking. Write to me if you still want more support!
See more: Substitute For Electric Mixer