What is bread proof on oven? Dough proofing in the context of an oven refers to the process of allowing bread dough to rise and ferment in a controlled and slightly warm environment. This step is crucial in fluffy loaf baking as it gives the yeast in the dough time to ferment, producing carbon dioxide gas that causes the dough to expand and rise.
Mastering the art of proofing process is a crucial step toward creating delightful baked goods. While traditional room temperature proofing works wonders, harnessing the controlled environment of your oven can expedite the process. Here is how you can successfully perform a bread proof oven process, achieving beautifully risen and flavorful results.
In This Article
How To Prove Dough In The Oven
You can prove the dough with hot water in the oven or preheat the oven to the desired temperature and put the dough inside it. The preheat technique is the quickest method.

Hot Water Technique
Suppose you live in an exceptionally dry area; this method can help you proof dough since it provides a humid environment.
- Step 1: Get your oven ready. One of your racks should be placed in the bottom position. Another rack should be positioned in the center.
- Step 2: Get your dough in. Place the loosely covered dough bowl on the middle rack of the oven.
- Step 3: Obtain a sizable metal pan. A casserole dish of 9 by 13 inches (23 by 33 cm) works well. Avoid using glass or ceramic because these materials can break. Put the pan on the bottom shelf of the oven.
- Step 4: Get your water warm. On the stovetop or in the microwave, heat 2-3 cups of water until they are at a rolling boil.
- Step 5: Add water to your pan. Pour the warm water you have prepared into your pan, then shut the oven door.
Oven Preheat Technique
Check out the following technique for an even simpler process if you’d prefer to avoid boiling water. When I’m in a hurry, and the dough only needs a little bit more proving, I usually utilize this quick and simple procedure.
- Step 1: Set the oven rack so that it is in the middle.
- Step 2: Turn on your oven for two minutes without putting anything inside.
- Step 3: Turn off the oven.
- Step 4: Put your covered bowl of dough in the middle oven rack and close the door.
Other Ways To Proof Dough
Besides the above proof dough in oven methods, there are four tried-and-true techniques for proofing bread dough in both warm and cool kitchens: doing it at room temperature, using a slow cooker, a bread proofing box, or a microwave. Follow these instructions to produce yeast bread after your bread has been proven.
Proof Bread At Room Temps
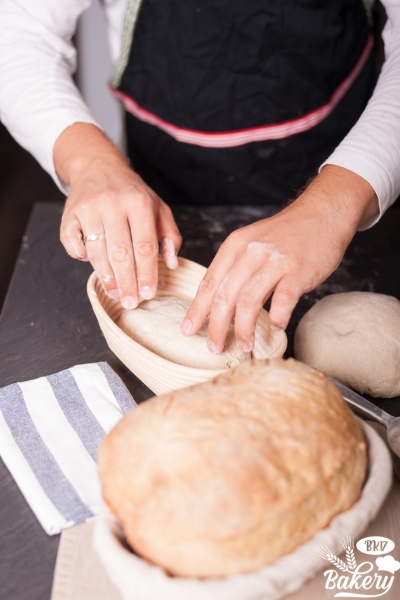
The simplest and most common method, room temperature proofing, allows the dough to rise naturally. When I first started out on my baking journey, I used this method a lot.
While it might take longer than other methods, it’s a dependable approach. Cover your dough with a damp cloth in a warm, draft-free area (typically 68-72°F or 20-22°C is the ideal temperature range) and monitor its progress.
Use A Slow Cooker
Surprisingly, your slow cooker can serve as a valuable tool to proof dough. Start by heating the slow cooker on its lowest setting for a few minutes, then turn it off. Place the covered dough inside the warm slow cooker and let it rise undisturbed. This method creates a cozy environment that encourages yeast activity.
Utilize A Proofing Box
For more precise control over temperature and humidity, consider investing in a proofing dough tool. After using traditional methods for so long, I treated myself and bought one of these specialized devices; and it has been a real game changer for me.
It offers an ideal environment for the dough fermentation process. Set the box to the desired temperature (usually between 75-85°F or 24-29°C) and enjoy consistent and efficient proofing results.
Use A Microwave
The microwave might seem an unlikely candidate for proofing, but it can work effectively. I begin by microwaving a cup of water until it steams, creating a warm and humid atmosphere.
Then, I place my covered dough alongside the cup, close the microwave door, and let it rise. Be cautious not to turn on the microwave during this process!
See more: Bread Proofing Temperature: Best Temp & Humidity For Rising
How To Tell When Your Bread Is Done Proofing
Recognizing the optimal proofing stage is an essential skill for any aspiring baker. There are two ways to do this: paying close attention to the increase in size and the spring-back ability of your dough.
Increase In Size
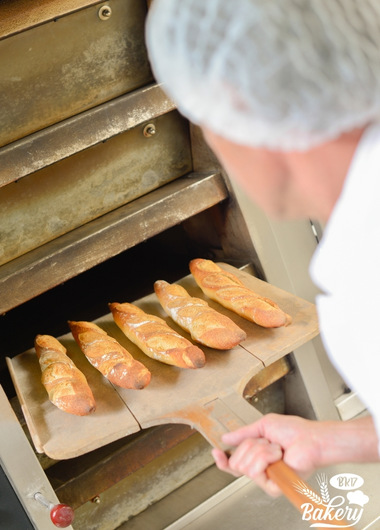
One of the most apparent signs that your fantastic bread has completed proofing is a noticeable increase in size. As the yeast ferments and produces carbon dioxide, the dough expands and becomes visibly larger.
Once my rising dough in oven is double in size from its original volume, I know that it has been well-proofed. Keep a keen eye on your dough’s progress to avoid over-proofing, which can lead to a deflated final product.
Spring Back Ability
To check whether my dough is ready, I gently press my finger into the surface of the dough. When I lightly poke the dough and it springs back slowly, leaving a slight indentation, it’s a sign that tells me my fragrant bread is appropriately proofed.
When the dough bounces back quickly and doesn’t hold the indentation, it likely needs more proof time. Conversely, if the dough doesn’t spring back at all and the indentation remains, it might be over-proofed.
Frequently Asked Questions
Can You Proof In A Regular Oven?
Yes, you can proof the dough in a regular oven using the oven’s “proofing” setting or creating a warm and humid environment. To do this, set your oven to its lowest temperature (usually around 100-110°F or 37-43°C), then turn it off. Place a bowl of hot water on the bottom rack to create humidity, and place your covered dough on the upper rack.
Can You Speed Up Proofing In The Oven?
Certainly, to accelerate proofing in an oven, set it to the lowest proofing oven temperature (around 85-90°F or 29-32°C), place a tray of warm water on the bottom rack for humidity, and cover the dough on the upper rack with a damp cloth. This controlled warmth and moisture will expedite yeast activity, but monitor closely to prevent over-proofing.
Is Oven Proofing The Same As Room Temp?
Oven proofing differs from room temperature. Oven proofing involves placing the dough in a slightly warm oven (85-90°F or 29-32°C) with controlled humidity to expedite rising. Room temperature proofing occurs at ambient conditions (68-72°F or 20-22°C). Both methods yield similar results but at varying speeds.
Final Words
Now you know all about the technique of how to prove bread in an oven to streamline the bread-making process. Whether you’re crafting artisanal bread or delicate pastries, these oven-proofing insights empower you to manipulate proofing time and temperature for impeccable homemade flavor results.
With this newfound knowledge, your creations will rise to new heights, captivating both your taste buds and culinary aspirations. Happy baking!
