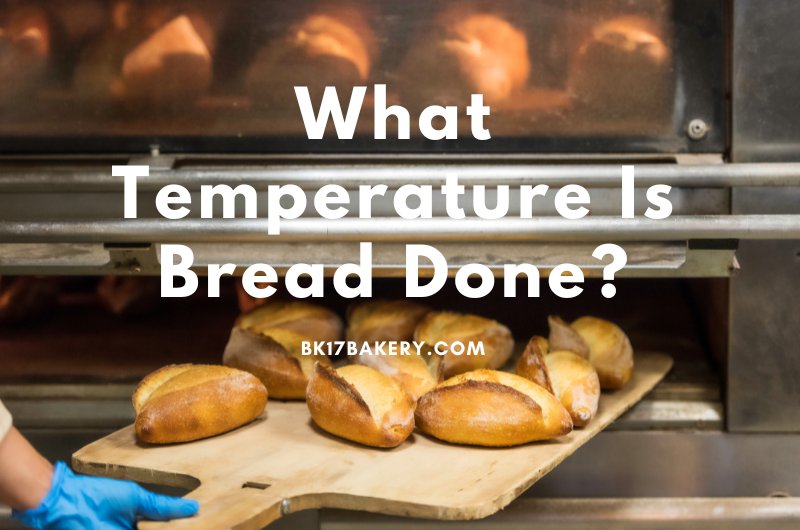
Bread has long been a familiar staple for millions of people every breakfast.
Though the benefits of bread, in general, are obvious, people are launching into heated debates recently about whether store-bought or homemade versions are a better choice, both from financial and nutritional perspectives. And that’s what I am here for. Keep scrolling to learn whether homemade bread is better for you.
In This Article
Is It Healthier To Make Your Own Bread Than Buying It At Stores?
Yes. Making the bread at home gives you much more control over the baking and fermenting process. Hence, any ingredient or additive that poses significant health risks – such as sweeteners, calories, sugar, and sodium – can be left out of the formula.
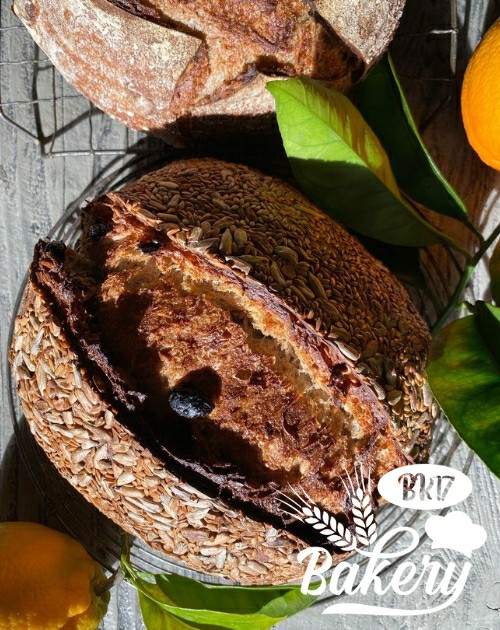
Lower Sugar Content and Sodium Than Store-Bought
To clarify: sugar and sodium are not necessarily bad for your health if applied in proper quantities. Still, excessive consumption might lead to unwanted effects, such as dental issues, cardiovascular problems, or even obesity.
Popular bakery bread products contribute significantly to alarming sodium/sugar intake. But that is not gonna happen for their homemade counterparts.
I always cut off these contents during baking to ensure my children only have the best and most nutritious meals on a daily basis. The fact that every slice of store-bought bread is packed with 1.4g sugar (according to LiveStrong) has startled me a lot, since we all want to lead a cleaner and healthier life today.
Sure, you can choose to add them to your own baking formula. What matters is that unlike store-bought bread – where you do not have any say in the matter – homemade bread gives you the freedom of choice.
More Nutritious And Fewer Additives
Many popular bread labels use additives, preservatives, and sweeteners to attract customers while extending the bread’s shelf life. Unfortunately, these substances might strongly impact your family’s overall health.
More specifically, they include:
- Azodicarbonamide
- Corn syrup with high fructose
- Trans fats
- Hydrogenated oil
- Potassium bromate
– which are all notorious culprits behind allergic/asthma reactions, respiratory issues, cancerous tumors, liver disease, and diabetes.
That’s why homemade bread has become a popular alternative: not only does it get rid of all these additives and chemicals, but homemade bread also allows longer fermentation and dough preparation, which, in turn, increases vitamin B and other nutritional values.
And this is also my secret to trick my kids to consume more veggies by blending them and mixing them into the dough.
Lower Calories
As mentioned, self-made cakes and bread are very flexible in formulas and ingredient ratios.
Hence, if you or anyone in your family is purchasing a specific wellness goal, opting for lower-calorie bread recipes every morning will be a terrific idea!
My favorite is wheat bread or several slices of sourdough – enough to last me for the entire working day and propel me faster to my weight-reduction goal. I managed to lose 4 pounds in just three weeks!
Is It Cheaper To Make Your Own Bread?
Yes, using basic ingredients to make bread at home is clearly a much better choice, given that you don’t add more ingredients like nuts, dried fruits, etc. But it also depends on the bread type you make and the standard of living in your region.
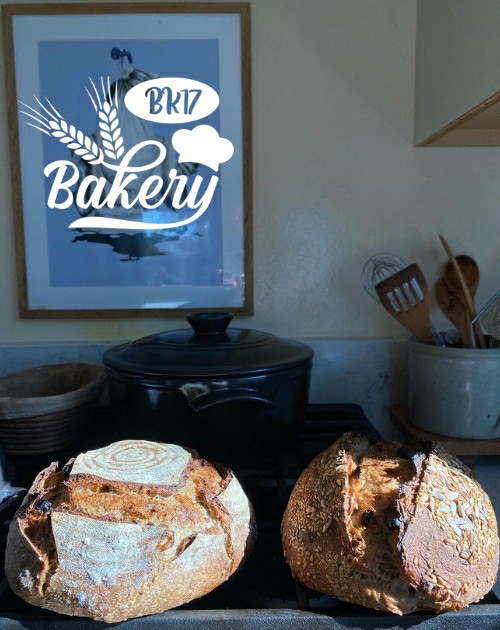
Although buying store bread seems more convenient and cheaper, its prices have actually been increasing in the past few years. Take American bread products, for instance: their current charge is around $1.69. The number might seem insignificant at first glance, but it is 12% higher than in previous years!
Worse, high-quality bread (such as sourdough and artisanal loaves) might push the pricing to $10 per loaf, as per Bloomberg reports!
Considering all these statistics and numbers, it’s easy to understand why homemade bread products have become the latest trend. With only several basic ingredients that can be used over and over again, they are a lifesaver for millions of tight-budget households.
Of course, the exact cost also depends on your bread preference, quality, and chosen ingredients. The breakdown list below can hopefully lend you some references:
Flour
Flour is the most important element in the bread and might even account for 50% of the cost. Most flour types work well with any baking bread; the only difference between them is the level of protein content.
- All-Purpose Flour: $0.53 – $1
- Bread Flour: $2.24 – $3
- Whole Wheat: $1.12 – $2.72
- Whole Wheat (White): $2.4 – $4.5
Oil
Adding oil to your bread dough can improve both the crumb structures and the bread’s shelf life. Better yet, as the water is kept from evaporating, the texture feels more tender and moist.
- Canola Oil: $0.08 – $0.79
- Olive Oil (Extra Virgin): $0.09 – $0.41
Salt
Without salt, the dough cannot be properly kneaded to form gluten during fermentation. Not to mention, how can any food taste good with no salt added?
A bread loaf only needs one tsp salt that barely costs a dime. Even if you decide to buy an entire pound of salt for future usage, the purchase will only be around $0.33.
What Are The Other Benefits of Homemade Bread?
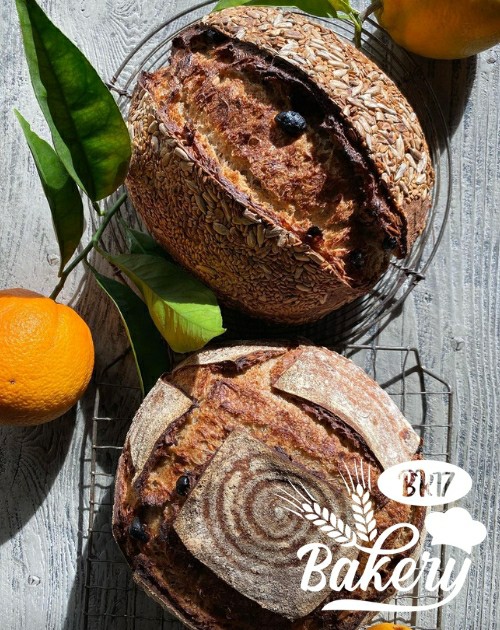
Homemade bread tends to have much better flavors and textures – since it can be personalized to your usual taste and preferences. Learning to bake also gives you more opportunities to bond with your loved ones, improve your cooking skills, and distract yourself from negative thoughts.
Plus, environmental issues often seen in commercial bread wrappings will be significantly reduced.
Better Flavor and Freshness
The delightful aroma of fresh bread taken straight from ovens is something no store-bought products could ever achieve.
Plus, do not forget that commercial foods tend to be one-size-fits-all, catering to a wide demographic rather than individual preferences.
My daughter and I always have fun in the kitchen making our own bread. We let our creativity juice run wild by experimenting with different ingredients. And the result is always a delicious loaf of more personalized flavors – exactly how we want it to be!
Enjoyment and Bonding
Cooking can be quite a fulfilling and rewarding experience; doing it together with my loved ones is the best way to create lasting memories and deepen your emotional bonds with them. Not only my daughter but my son and hubby also join hands; though always leaving a mess in the kitchen, we never regret it.
Better yet, the entire process of shaping and kneading the dough has been proven therapeutic; it lets you disconnect from major sources of daily stress to focus only on yourself and your creative endeavors. You will feel much, much better after finishing the whole thing!
Environmental Benefits
That is quite self-explanatory: commercial packaging waste is never a thing with homemade bread. Plus, you can also choose sustainably-produced and organic ingredients only, contributing more to the environment and healthy food systems.
Skill Development
Like any other skill, bread baking requires frequent practice. Working in the comfort of your own home gives you a chance to learn and explore various techniques, which, in turn, enhances your overall cooking skills and gives you a great sense of victory and accomplishment.
The Drawbacks of Homemade Breads Compared to Store-Bought Ones
Homemade bread has a much shorter shelf life due to the lack of preservatives. Beginners find it extremely difficult to make the bread in record time (especially during the dough-kneading stage) or adjust the flavors and texture to their preferences.
It Can Be Time-Consuming
The biggest selling point of store-bought bread is convenience: buying one at a nearby store only takes seconds, while making it yourself requires hours or even an entire day. You have to mix all ingredients, knead and shape the dough into loaves, wait for them to rise, bake and serve, etc.
They Might Not Taste The Way You Want
Most seasoned bakers have no trouble adjusting the bread’s flavors and textures to their preferences, whereas beginners struggle to make things right.
Numerous issues could occur during baking, such as overmixed dough, overcooked, undercooked bread, and many more. Frankly, the road to the perfect bread with crunchy crust yet still moist and soft inside that I make today has witnessed thousands of batches going to waste. So there’s nothing to rush or worry about, my friends!
They Mold Faster
And that is to be expected – since self-made bread has no preservatives or artificial ingredients. Homemade bread lasts only about nine days in the fridge, while store-bought ones can extend that period to two weeks.
A Bread Machine/Mixer Might Be Required
Kneading the dough manually requires expertise and can be time-consuming. Some people may want to consider purchasing bread mixers to speed up that process; if you are one of them, brace yourself for the price.
Oven Heating In Summer Increases Your House’s Temperature
Needless to say, ovens generate lots of heat. While nobody complains about that in winter, that much heat can become a nightmare when summer comes. Have fun with your fans and air conditioners.
Some Homemade Bread Recipes to Try At Home
Crusty white bread, French chewy bread, and no-knead bread are everyone’s favorite bread recipes, as they are easy to make, even for beginners. Their ingredients are pretty basic and accessible, too; you can do an entire batch on your own without a second helping hand!
1. White, Crusty Bread
a. Ingredient List:
- All-purpose or wheat flour (1000g)
- Room-temp water (700g)
- Salt (22g)
- Instant yeast (4g) or dry yeast (5g), or fresh yeast (10g)
- Vegetable oil or coconut oil (1 tbsp)
b. Instructions:
Step 1. Combine water and white flour in your stand mixer fitted with dough hooks. If you use dry yeast, mix warm water with yeast and leave the mixture until it becomes foamy. After that, add salt to the bread dough and continue mixing till they are smooth and incorporated.
Step 2. Move your bread dough to a bowl (lightly oiled). Use plastic wrap to cover it and leave it for about 30 minutes. Then uncover it and fold the dough in half; repeat the folding process several times.
Step 3. Let the dough rise until its volume expands by half – that should take about 1.5 hours. Then move the dough to your floured working surface, cut it into halves, and shape each half into one ball. Let both balls rest for about 15 minutes, then place them in baskets or bowls lined with floured cloth. Refrigerate them in 1.5 hours to double their sizes.
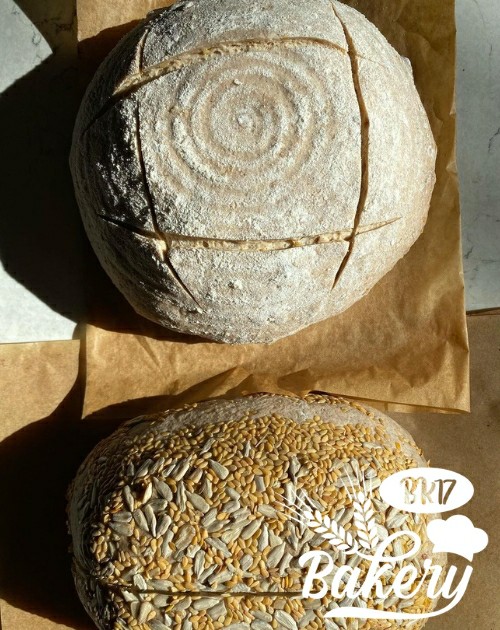
Step 4. Heat your oven to 260°C or 500°F. Put the loaf of bread there, spritz it with water, and score its surface. Let it heat for about 15 minutes, then reduce the temp to 235°C or 450°F. Keep baking until the crust turns dark brown.
Step 5. Transfer your bread to wire racks and leave it to cool down for 1 hour. Enjoy!
2. No-Knead Bread
a. Ingredients:
- One bread loaf
- Bread or grain flour (430 gr or 3 1/3 cups)
- Instant yeast (1 gr or 1/4 teaspoon)
- Kosher salt (8 gr or 2 teaspoons)
- Wheat or cornmeal bran
b. Instructions:
Step 1. Combine salt, yeast, flour, and water, stirring until blended. Cover the dough and let it rest for about 18 hours (at room temp), then move it to a floured surface. Fold the dough over and leave it to rest for about 15 minutes in plastic wrap.
Step 2. Ball the dough, then place it seam-down on a cloth or towel coated in cornmeal, bran, and flour. Leave it to rise for 2 hours or until its size doubles.
Step 3. Heat your oven to 450°F. Move the dough from the towel to a pot – shake it if needed for even distribution – then cover and put the pot into the oven for about 30 minutes. Pull off the pot’s lid, and keep baking for another 30 minutes till the bread turns brown. Leave it to cool down on the rack before serving.
3. French Chewy Bread
a. Ingredients:
- Yeast (1 tbsp or 9 gr)
- White sugar (1 tbsp or 12 gr)
- Kosher salt (2 teaspoons or 12 gr)
- Warm water (2.5 cups or 590 gr)
- All-purpose flour (4 cups or 600 gr)
b. Instructions:
Step 1. Combine warm water and sugar to activate your yeast. Leave it for about 15 minutes, then gradually add flour and salt to the mixture till the dough feels consistent and slightly sticky. Put the dough in an oiled bowl and let it rise to double the original size.
Step 2. Ball the dough into buns or loaves and place in greased pans. Let them rise to double again, then score the bread tops, brush them with eggs, and sprinkle some salt.
Step 3. Bake them in an oven at 400 degrees for 25 minutes until the color turns golden brown.
Conclusion
Homemade bread is healthy, cheap, and super easy to bake. I have also listed several simple formulas you can try at home; keep them in mind, and feel free to ask me for help if needed.
See more: Why Is My Bread So Dense? How to Make The Bread Softer?
