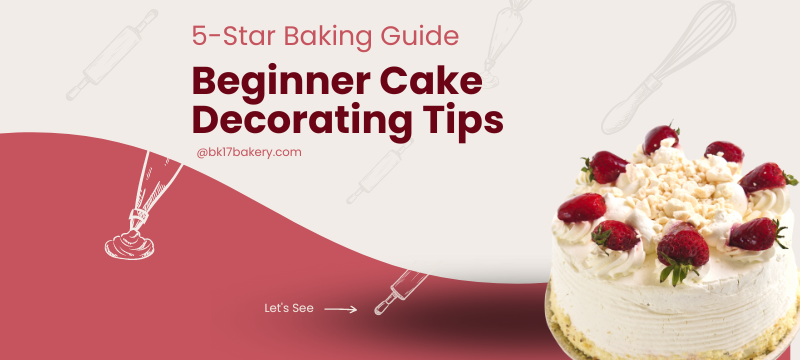
Cake decorating should not become your nightmare and reduce your baking inspiration. As you receive helpful guidance, you will find that the techniques are easier than expected.
However, not all home cooks have the time and money for pastry classes. Do not worry. I have listed some useful cake tips for decorating based on my previous lessons and experience.
In This Article
Cake Tips And Designs For Beginners
Invest In High-Quality Tools
No chef can make beautiful desserts without top-notch tools; they indeed take your experience to the next level. I used to be very stingy with the cost since I felt it was unnecessary to equip fully except for the icing bags and the cake turntable.
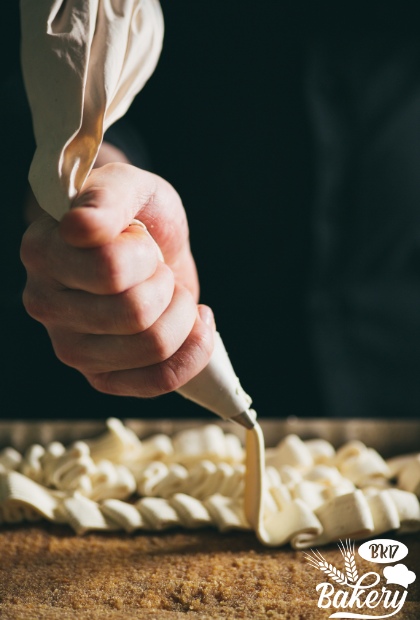
However, everything changed when I signed up for cake decorating classes. I learned for the first time that the complete list of utensils includes 26 separate things, and some even come with extra sections. I was also overwhelmed when I got my hands on these things. The whole process has become much smoother and more efficient, as if my skills had broken through.
I then spent a few hundred dollars on my favorite essentials. They are not cheap, but they are all worth my investment. Here is my list of specialty tools:
- Cake leveler
- Piping bags
- Piping tips
- Acrylic cake disk
- A spatula set
- Food coloring
Frozen Your Cake
Beginners often cannot stop their excitement and have the homemade cake decorated as soon as it comes out of the oven. Unfortunately, it is a bad idea for your batch of cupcakes. Heat melts the cream and leaves a mess on the surface. Instead, slow down and do a few essential steps first.
Let your naked cake sit at room temperature, and then transfer it to the fridge for a few more hours or even a week before cake piping designs. The frozen cake benefits your frosting afterward because the surface becomes harder. So what about the taste? It is still fine as long as you store it properly.
It’s recommended to flatten your fresh batch and store it in cling film. If you have separate layers, wrap them individually or separate them with a piece of parchment, and add one more layer for ultimate protection. Cover the batch in foil paper at the outermost to prevent odor penetration in case you intend to store it for at least a week.
Put On Crumble Coat
A crumb coat is a thin layer of frosting but acts as a veil to trap moisture and suppress loose crumbs beneath the outer layer. As a result, you easily get a smooth surface to work on.
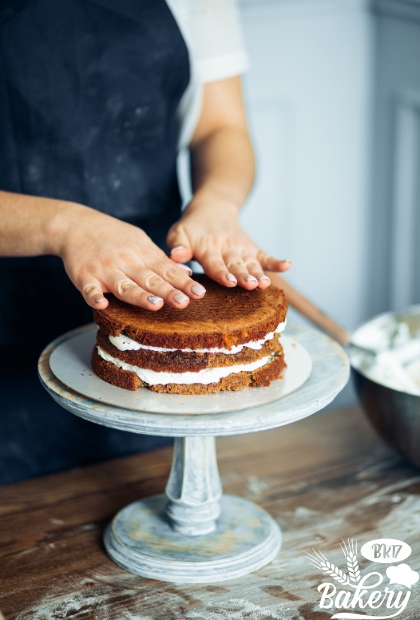
After you finish liquid fillings or layer stacking, use an offset spatula to apply a coat of frosting all over the surface and then spread as thin as possible. You know you are on the right track when you can see right through.
If you want extra frosting on cake, remember to scrape off the spatula to remove cake crumbs in a separate bowl before dipping it into the ingredient bowl again. Flatten the edges (I’ll cover this basic technique in the upcoming section), wait for the layer to dry, and then freeze it as directed above.
Hold The Cake Scraper With Your Dominant Hand
Smooth edges are not difficult, but it requires some tips to achieve perfection. In my case, I thought I was doing well with the instructions until my teacher assessed my finished dessert and asked about my dominant hand. Yes, I am left-handed, but I did not use it for the main steps. That is how I left some flaws in my outcome.
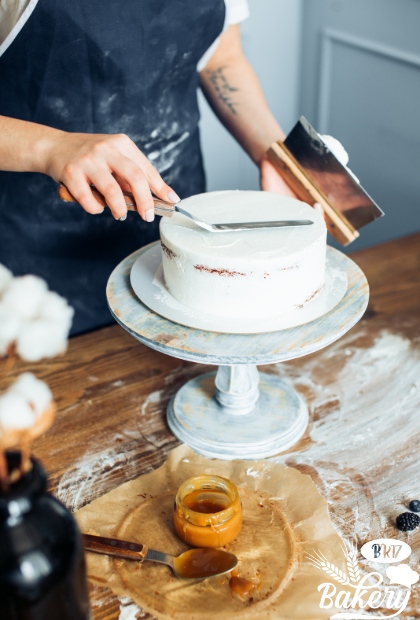
Don’t follow in my footsteps! You should hold the bench scraper with your dominant hand at a 45-degree angle and the turntable with the other. Turn clockwise if you’re left-handed like me or counterclockwise for right-handed people and keep your sight at the level of the cake. Maintain a steady speed and pressure until you achieve the desired smoothness.
Why are these tips mandatory? My teacher has revealed that we may feel tired or fail if we do this step in the opposite direction of our ability. As a result, inconvenience leads to uneven spots or, worse, a mess.
Level Your Cake
The cuts across your cake are key if you want your icing smooth. Some recipes tend to produce results with a domed top, so leveling is a must. Most YouTube baking tutorials show a chef using a serrated knife for this task. But don’t!
I have failed this operation countless times in my first attempts. Beginners are not skillful enough to keep the knife going in a straight line through. Handling a blade longer than the cake diameter is also quite difficult.
I suggest you start with a leveler, which leaves a flat top surface with little effort. If you do not have the necessary utensils, flip your cake over. It is the fastest way to get a flat surface since the bottom fits the cake pan. Remember to wipe away the excess and secure the cake afterward.
Prepare Extra Frosting
Buttercream or cream cheese are safe options for beginner bakers. These options are smooth, easy to spread, and not too wet – all ideal for piping. However, I want to mention the amount of frosting required here. You had better prepare about 50% more than the recipe asks to compensate for the loss when you do it wrong.
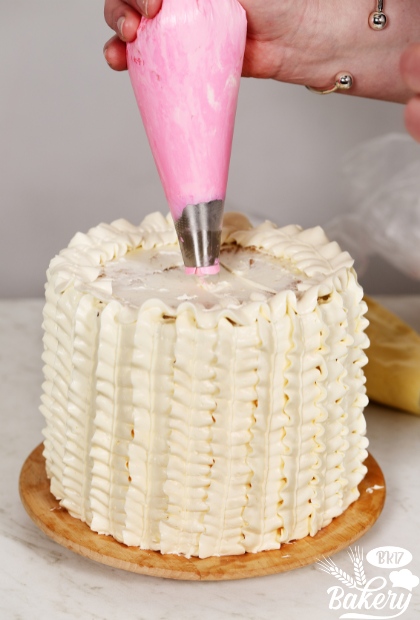
I ran back and forth in the kitchen and rushed to prepare more homemade frosting. This made me lose my temper on the first attempts and forget proper storage. The unfinished dessert was exposed too long, so it melted when I returned with a new bowl of buttercream. Then I learned from what happened – increase to 5 frosting cups instead of 4 for the standard batch and add every 2 cups for an extra layer.
Practice Makes Perfect
Experiment with dozens of piping bags until you can produce a beautiful cake as desired and practice with several tube ends to master interesting effects. For instance, star tip cake decorating took me 3 weeks to create beautiful, even swirls.
The same thing happens to the writing technique on the cake. I traced the cake size onto a piece of parchment paper and used a small round tip to fill the surface. I kept practicing this every day until the size and spacing of the letters were optimal.
In short, your technique never improves without practice. Committing to a hard schedule is the only way to achieve great results in baking.
FAQs
Is Cake Decorating Hard To Learn?
It is both simple and complex to decorate a cake. Some advanced techniques require extra effort, while others start with some simple tools and experience levels.
How Long Does Cake Decorating Take?
The exact time boils down to your design and cake size, but the process may generally take 1-2.5 hours to finish.
What Can I Use Instead Of Buttercream Frosting?
There are several substitutes for your preference, including marshmallow frosting, cream cheese, whipped cream, chocolate sauce, fresh fruit, syrups, etc.
Conclusion
One last piece of advice for you is to enjoy what you do. You should find joy in baking & pastry arts to stay motivated to learn and practice new decorating tips for cakes. I started from square one and improved my skills every day. Plus, let your creativity run wild because the only limit in culinary creation is the horizon.
