KitchenAid has been a household name when it comes to quality mixers, yet beginner bread bakers are still confused about their expected lifespan. And does KitchenAid have a lifetime warranty, or do you have to spend money paying for all repairs by yourselves?
A long-time KitchenAid customer like myself understands these burning questions more than anyone else, and I am glad to share with you what I already know. Keep scrolling!
In This Article
How Long Do KitchenAid Mixers Last?
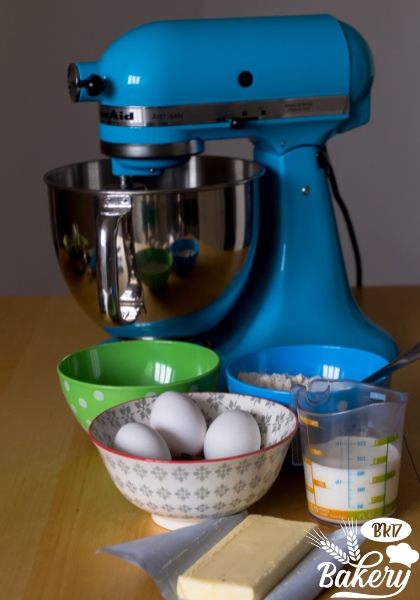
A KitchenAid mixer can last from 10 – 15 years on average. These numbers are only rough estimations; many customers have reported theirs to survive the test of time much longer. Proper care and maintenance even extend the limit to 30+ years.
Why It Lasts Long
A whole decade and even more? They are undoubtedly very impressive numbers. The secret lies in the premium materials that KitchenAid has consistently been using for their USA-made models!
Specifically, the mixer exteriors are crafted with cast zinc alloys (instead of the usual plastic commonly found in standard mixers). Better yet, these alloys are equipped with baked enamel finishes, which further strengthen their resistance against scratches, chips, and other similar damage.
These sturdy layers are clearly meant to protect the mixer’s exterior well – but on another note, the interior also enjoys follow-up benefits from them. Thanks to the thick alloys, all internal electrical components are protected from excessive vibrations and hassling – meaning there is no need to think about haywire wires for at least half a year after purchase!
And while we are in the discussion about electrical components, do not forget that KitchenAid mixers incorporate Grade F insulations for even better wire storage and encapsulation.
Aided by a smartly-installed cooling fan, power hub, and powerful motor, the mixer interiors are always in their best condition, even more than one decade along the way.
With that much money and consideration going into the design, anyone should understand why these durable pieces outperform all competitors!
Influencing Factors
Of course, like any other mixer, KitchenAid longevity is influenced by three critical factors: your usage frequency, your maintenance quality, and what you like to use the mixer for.
For instance, my family only uses our KitchenAid mixers about twice or thrice per month for dozens of cookie doughs and small-batch recipes, and it’s accompanied us for more than 10 years since my 10-year-old little daughter was born. With this frequency, I expect their lifespan to last at least 20 years or more.
Suppose I use it every day for multiple loaves of bread – or refuse to take good care of it; in that case, the array of accessories is supposed to stand in my kitchen for 5 years or thereabouts.
Common Issues That Might Affect KitchenAid’s Longevity
According to the brand itself, KitchenAid mixers often encounter misalignment, sudden shut-off, rusty bowls, oil leaks, lock-in failure, loud operation noises, and spin/blending speed setting control.
1. Misaligned Mixers
Misalignments come first on my list for a reason – that is what I faced most often, especially after finishing a large batch of cookies for the whole month.
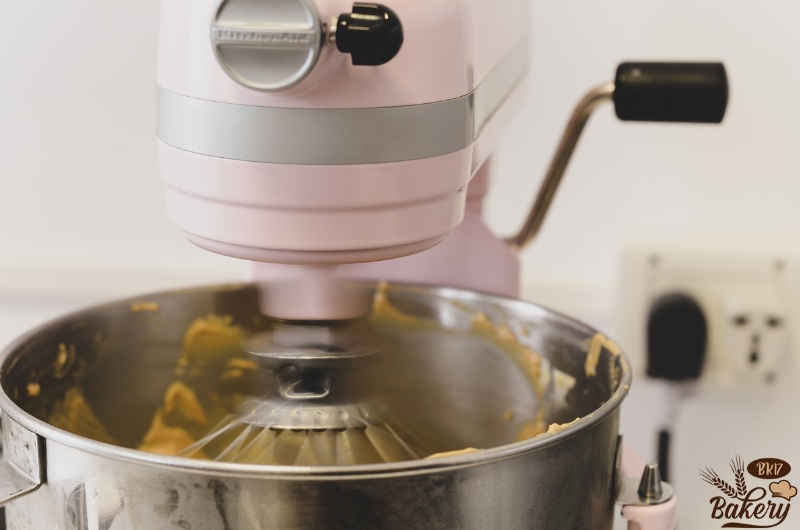
Even the KitchenAid support team confirms misalignments are among the most common issues with their durable appliances over time.
Either they fail to reach all baking ingredients properly and leave them unmixed near the bottom, or your flat beaters extend too deep into the bowl and scrape their side. Well, in both scenarios, you must change the bowl clearance, ensuring it is only about 1/16th inch.
Fix:
When I reached out to KitchenAid complaining about this pet peeve, the staff instructed me to perform the dime test. And it remains the easiest and most effective solution until now; there is no need to embark on a hunt for tools and equipment!
And I must stress that it is a DIME, not a COIN – since the dime is at a perfect 1/16th inch density and will give you great visual aids to adjust the clearance. Also, note that this test only works for steel bowls; do not apply them to glass or ceramic ones.
Turn the lower-speed stirring mode on and watch how the dime moves around. No movement at all? The beater blades are too high. Fast, continuous movements? Then they are too low and risk scraping your bowls. Keep adjusting until the dime only travels around slowly.
2. Mixer Shutting Off
A few KitchenAid mixers have Thermal Overload Protections that shut the model off automatically when there is too much heat; that is normal and nothing to worry about.
What I am talking about is steamy ingredients (mashed potatoes, for instance) whose steam causes serious circuit board condensation and disrupts the motors, shutting them off.
Fix:
In these cases, I usually give my mixer 3-5 minutes to cool, then switch it on again to see how things go. The tip works every time for me – but only because the steam is TRULY the culprit.
If your mixer overheats for any reason other than steam, give it at least 30 minutes to rest before hitting the “Start” button.
3. Rusty Mixing Bowl
Although stainless steel has always been known for its impressive rust resistance, this durable material is not 100% invincible! So if you notice any rust signals with the mixing bowl, it is time to pay more attention to your cleaning frequencies.
Luckily, one DIY rust remover is more than enough to handle this minor issue.
Fix:
Confirm that the dish soap you use for the cleaning tasks has no halogen salts (iodine, bromine, fluorine, or chlorine) or antibacterial or bleach agents with Triclosan chemicals. And do not use steel wool – unless you want the bowl rusts to worsen!
For mixers with serious rust buildups, I suggest taking the following steps:
- Mix vinegar (both white vinegar and apple cider are fine) with baking soda. Wait until they form a paste.
- Gently spread this paste over your mixer surface. Let it sit from 10 minutes to several hours (depending on the rust). Then use a damp cloth or scrubbing pad to rub the paste in circular motions.
- Rinse your mixing bowl with warm or lukewarm water. Finally, wash and hand dry it.
4. Mixer Leaking Oil
Most KitchenAid mixers arrive with lifetime supplies of gear grease – recommended to be distributed around the base to keep the system smoother. While that is great news, it does not stop the bottom oil from dripping off your lock lever or beater shaft from time to time!
Both overuse and lack of use are the possible culprits behind the issue. And sometimes, extreme temperatures during summer also separate the oil drops from your globs of grease, causing them to leak out.
Fix:
Turn on your mixer every so often (even when there is no ingredient inside the bowl).
If the mixer has been neglected for too long, switch to the highest speed and let the model run for about 2 minutes. And most importantly, always wipe off residual oil before and after mixing!
5. The Mixer Does Not Lock-In
The swivel whisks set too high keeps the mixer tip from slotting into the right position. As a result, your mixer fails to lock in.
Fix:
One common issue behind the problem is the too-high beater. So use the dime test mentioned above (refer back to Problem #1) and lower the beater; this simple tip will return the locking mechanisms to normal.
6. Loud Noises
Mixing noises have always been the norm for any powerful machine, let alone a KitchenAid model. However, loud, screeching noises are something else altogether, which indicates external items or food residue stuck inside the system.
Fix:
Check carefully to confirm no objects or everyday food particles cling to the mixer. If you feel unsure, dismantle the entire model to examine every innard. Discard the item/object when you find it.
7. The Mixer Does Not Spin
Does the mixer refuse to spin when you turn it on? Then shabby, worn mixer gears are to blame.
Fix:
Disassemble your KitchenAid model from its mixer head. Once done, swap the worn gears with newer ones to fix the mixer spins.
Not comfortable tinkering around with the mechanical systems? Afraid that the limited warranty might be voided? Then your best bet is to return it or consult expert technicians.
8. Problems With The Speed Control
Observe how the mixer spins at a variety of tasks. If it only spins when set at certain speeds (and not others), there are serious electrical issues with its core components. Meanwhile, mixer models going too slow or too fast indicate loose motor housing screws on the adjustment panels.
Fix:
Since there are two different possible scenarios, choose one of the following troubleshooting methods:
- Reset its head screws to revert the mixer to its regular speeds
- Replace the speed panels and regulation boards if bolt changes do not work
Again, return the KitchenAid mixer or ask for technician advice if you are afraid to mess around with the mechanism.
Tips to Extend KitchenAid Mixer’s Life
Adjust the beater height and establish a regular schedule for deep cleaning and oil lubrication. Remember to remove every mixer component to scrub it from the inside out – and most importantly, it must be dried immediately after cleaning.
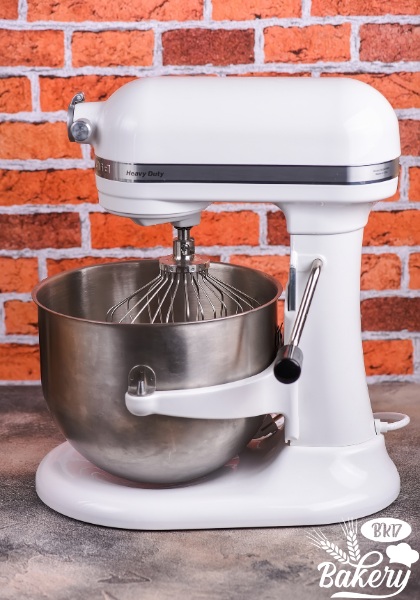
Frequent Lubrication
Lubrication is always the key. Sure, you do not have to do it every day – but at least establish a consistent schedule, especially when it comes to the height adjusters and sliding bowls for classic recipes.
Beater Height Adjustments
Too much usage easily messes up the mixer’s height. Use the dime test or refer to KitchenAid’s manual for more accurate measurements; if I am not mistaken, the brand has given quite detailed dime-test guidelines on its official website!
Take The Numerous Attachments Apart From Time to Time
Like oil lubrication, deep cleaning is not required every single day. But letting years pass by without disassembling the mixer once is not the right thing to do, either. Clean the model from the inside out at least once or twice every month!
Keep The Mixer Dry
Water is not good for your internal mixer components. After cleaning with soapy water, thoroughly dry the piece of equipment right away.
And while high-pressure scrubbing techniques seem like a great idea, they do not work for KitchenAid mixers. Excessive muscle power might risk inviting water to its inner workings, causing premature failure and rusting!
How Much Does It Cost to Repair A KitchenAid Mixer?
The number depends on the mixer problem. For instance, fixing its energy costs you $100 to $400. Meanwhile, motor replacements charge you $500 to about $600, and fuses only demand $50.
Do KitchenAid Stand Mixers Have A Lifetime Warranty?
Unfortunately, no. KitchenAid has issued lifetime guarantee policies for many of its professional kitchen appliances and hundreds of cooking tools, but for some reason, they do not apply to mixer warranties.
So how long is KitchenAid warranty, then? By the time of publishing, expect it to expire after one year (in short, 1-year warranties counted from your purchase date).
Conclusion
A KitchenAid mixer lasts longer than other products by one decade or two – which is super impressive!
But that does not give you an excuse to go lackluster on their care and maintenance. Note down tips to fix common KitchenAid technical issues, and contact me if you get stuck with any part of your baking task and bread dough.

