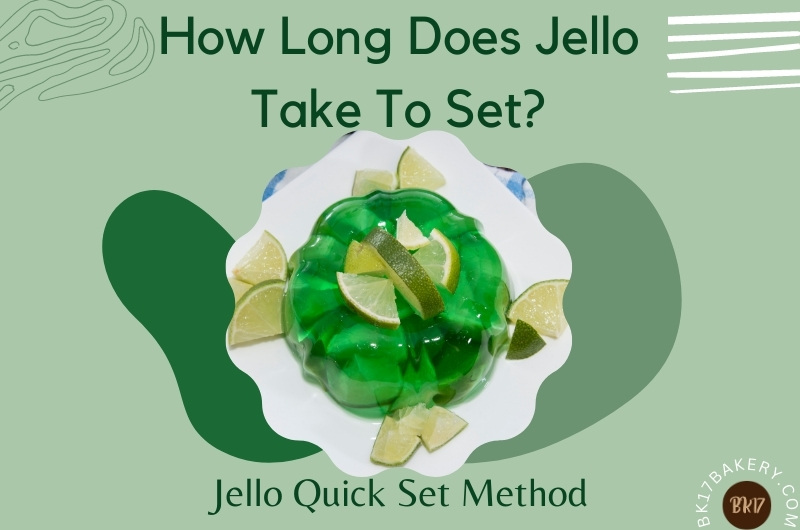
Jello, that wiggly and colorful delight, has been a beloved treat for generations. Whether it’s a delicious dessert at a kids’ birthday party or a refreshing tasty treat on a hot summer day, Jello’s unique texture and endless possibilities make it a go-to choice. But have you ever wondered: How long does Jello take to set? If yes, you’re in the right place.
Let’s together explore the ins and outs of Jello setting times, whether it’s at room temperature, in the fridge, or even in the freezer. This way, you will ensure your homemade Jello experience is perfectly timed and irresistibly enjoyable.
In This Article
How Long Does It Take Jello To Set?
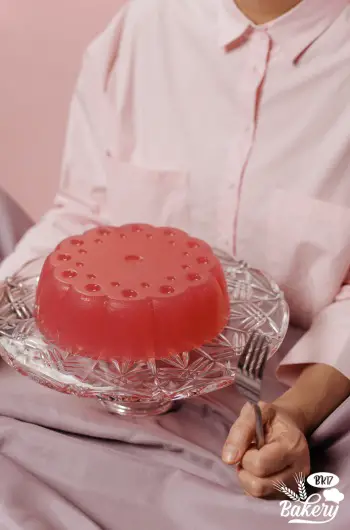
The time for the jello to be completely hardened can be anywhere from 2 to 4 hours, depending on the setting method, type, amount, and temperature of Jello. If you make extra-large ones, it might take up to 6 hours.
I will explain this in more detail in the following sections.
At Room Temperature
Here’s the deal: The jello will never be properly chilled to room temperature. Instead of producing a firm texture, it will have a “loosely set” or “soft set” – that’s my hard-earned lessons from years in the kitchen. Keep in mind that jello begins to stiffen at temperatures lower than 21°C or 70°F.
However, unflavored gelatin sets precisely at a temperature of around 34°F, or 1°C, which is significantly lower. But without a fridge, how can you make the jello set? I just found myself in this situation the other day. I simply put the jello-filled serving bowls in an ice bath, which is a sizable bowl of ice. The simple dessert may require more than six hours to solidify properly.
In The Fridge
Generally, for a standard Jello recipe made with gelatin mix and water, it takes approximately 2-4 hours to fully set in the refrigerator. However, certain factors can influence this timeframe. Additionally, the size and distinct shape of the container can also impact the setting time; larger and deeper molds may require more time, about 5-6 hours.
Personally, I usually make a batch of jello in the morning. This means my kids and I will have a delicious jiggling dessert to look forward to at dinner. What can be better than having such a refreshing jello at the end of the day? Also, you may make your jello in advance and keep it in the fridge for up to 7–10 days, ensuring you will always have a child-friendly treat after meals.
See more: How Long Does Bread Last In The Fridge or Freezer?
In The Freezer
Let’s be honest: not everyone has the time and patience to wait the required four hours for the gelatin mixture to set. The good news is: you can hasten the process by placing the mixture in the freezer. With this trick, the setting time is halved.
Still, be careful when using the freeze option. So simply place the jello in the freezer for 20 minutes before transferring it to the refrigerator. Notice that you still need to put the mixture in the fridge to let it set.
How To Make Jello Set Faster: Some Useful Tips

Sometimes, waiting for it to set can feel like an eternity, especially when you’re craving that jiggly masterpiece. Thankfully, there are some tricks and tips you can use to speed up the setting time of your Jello, such as using the right tools or preparing your gelatin.
Use Chilled Containers
When it comes to speeding up the Jello-setting process, a simple yet effective trick is to use chilled containers. Placing your Jello mixture into pre-chilled molds or containers before refrigerating creates a more conducive environment for rapid setting.
The colder the containers, the quicker the heat from the semi-set Jello will dissipate, encouraging faster solidification. This method is particularly useful when you’re short on time or dealing with a last-minute dessert craving.
Remember, though, to avoid using cold containers straight from the freezer, as extreme cold can cause uneven settings. I did this once, thinking that it would shorten the setting time. But when I removed the jello from the mold, it only hardened at the outer edge, with the center remaining soft and liquid-ish. I would not recommend anyone making the same mistake as I did!
Use Small Containers
When you’re eager to enjoy your delightful Jello creation sooner, consider a clever tactic: using small airtight containers. Opting for smaller jello molds or cups can significantly speed up the setting process.
How does this work? Smaller portions of Jello cool and solidify faster than larger ones, enabling you to indulge in that wobbly goodness in record time. Plus, small servings are perfect for individual portions or adorable mini-desserts for gatherings. Just ensure you don’t overcrowd your fridge, allowing proper air circulation.
Take Advantage Of Ice Cubes
When you’re craving that delightful wobble of Jello but can’t wait for the usual setting time, here’s a genius tip: ice cubes! One of my friends taught me this trick, and it has been a game-changer for me ever since.
She told me that to accelerate the cooling process, I must incorporate a few ice cubes into the Jello mixture. The ice crystals will help dissipate heat faster, promoting quicker solidification. Just remember not to go overboard; a handful of ice cubes should suffice.
After the ice has been dissolved, pour the thicker liquid into a cold mold. Then, wait for the jello to set for 30 to 60 minutes, depending on how firm you want it to be.
Once, I accidentally left my beloved jello with some ice in the fridge for more than 3 hours, and the moment I opened it, I was filled with regret since the jello hardened and tasted like crushed ice. My kids and I have spent hours on it and were so anticipated to take the first bite into that playful, wobbly jelly.
Bloom The Gelatin
You know what they say: well preparation will bring you the best results. Start by sprinkling powdered gelatin over cold water and letting it sit for a few minutes until it absorbs the liquid and swells.
Then, gently heat the mixture, stirring until the gelatin dissolves completely. This pre-hydration process jumpstarts the Jello’s setting process, ensuring a faster and more efficient solidification.
What To Do If Your Jello Won’t Set
There may be instances when your Jello just refuses to set, leaving you with a liquid disappointment instead of the firm, wobbly goodness you were expecting. I have encountered this issue before, and here are some troubleshooting tips I have learned through my try-and-fails.
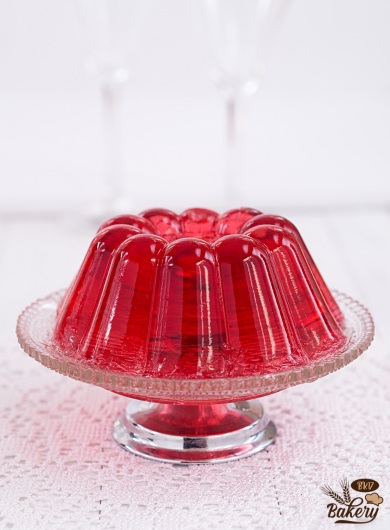
Keep Waiting
As they say, patience is a virtue, especially when Jello refuses to set. If you find yourself in the midst of a wobbly dilemma, keep waiting. Jello’s setting time can vary due to factors like temperature, humidity, or even the specific recipe.
When your Jello is taking longer than expected, don’t fret. Return it to the fridge, ensuring it has ample time to chill and firm up. Overnight is often the ultimate remedy, providing the best results.
Boil The Jello
If your Jello refuses to cooperate and remains frustratingly liquid, it’s time to take a culinary detour: boil the Jello. While this may sound counterintuitive, it can be a lifesaver. I learned this hack from my mom, who is a master in making classic desserts, by the way, and it works wonderfully. Here’s what I did.
First, I transfer the unset Jello back to a saucepan, gently heating it until it begins to simmer. This process helps re-dissolve the gelatin and ensures even distribution. Once the mixture simmers, remove it from heat, allow it to cool slightly, and then pour it back into a container to reset in the fridge. After around 4 hours, my jello turned out nice and firm.
Remove Fruits From The Recipes
If your Jello stubbornly refuses to set, a quick solution might involve reconsidering your ingredients. Specifically, removing fruits from the recipe could be the game-changer you need. Fresh fruits, especially those high in enzymes like pineapple and kiwi, contain substances that can interfere with the gelatin’s ability to set properly.
Suppose you’ve included these fruits in your Jello and are faced with a liquidy disappointment; try a modified homemade version without them. This simple adjustment can make a massive difference, ensuring that your Jello sets perfectly and delivers the delightful texture you want.
Make A Fresh Batch
There will be bad days when you can’t save your jello, no matter how hard you try. In this case, you will have to start all over again. It’s frustrating, I know; I have been there before. Sometimes, a misstep in the initial preparation can throw the entire setting process off balance. Thus, always double-check your measurements, ensure you’ve dissolved the gelatin completely, and follow the recipe card meticulously.
Creating a fresh batch will eliminate any potential issues from the previous attempt. Although it requires a bit more effort, this clean slate approach often leads to success, granting you the perfect, wobbly Jello.
Frequently Asked Questions
Should I Cover Jello In The Fridge?
Yes, covering Jello in the fridge is recommended. It prevents the Jello from absorbing unwanted odors and helps maintain its texture by preventing it from drying out or forming skin on top. A plastic wrap or lid for the container works well.
Can You Make Jello With Just Boiling Water?
Yes, you can use just boiling water to dissolve the Jello powder, but this will create a concentrated mixture. As indicated in the step instructions, you’ll need to add cold water afterward to reach the perfect consistency and allow the Jello to set properly.
Can I Use Milk Instead Of Water In Jello?
Yes. You can use milk instead of water in Jello, but it changes the texture to a creamier, denser consistency. Keep in mind that the Jello may take longer to set with milk, and it’s essential to follow specific recipes designed for milk-based Jello to achieve the best results.
Final Words
Timing can make all the difference, and understanding how long for Jello to set is the key to a delicious outcome. From its initial transformation to a semi-solid state at room temperature to the patience required for the perfect jiggle in the fridge and even the quick chills in the freezer, mastering the art of Jello setting opens up a world of culinary creativity.
So, next time you plan a Jello treat, remember these insights to ensure a wobbly, delightful success!

